
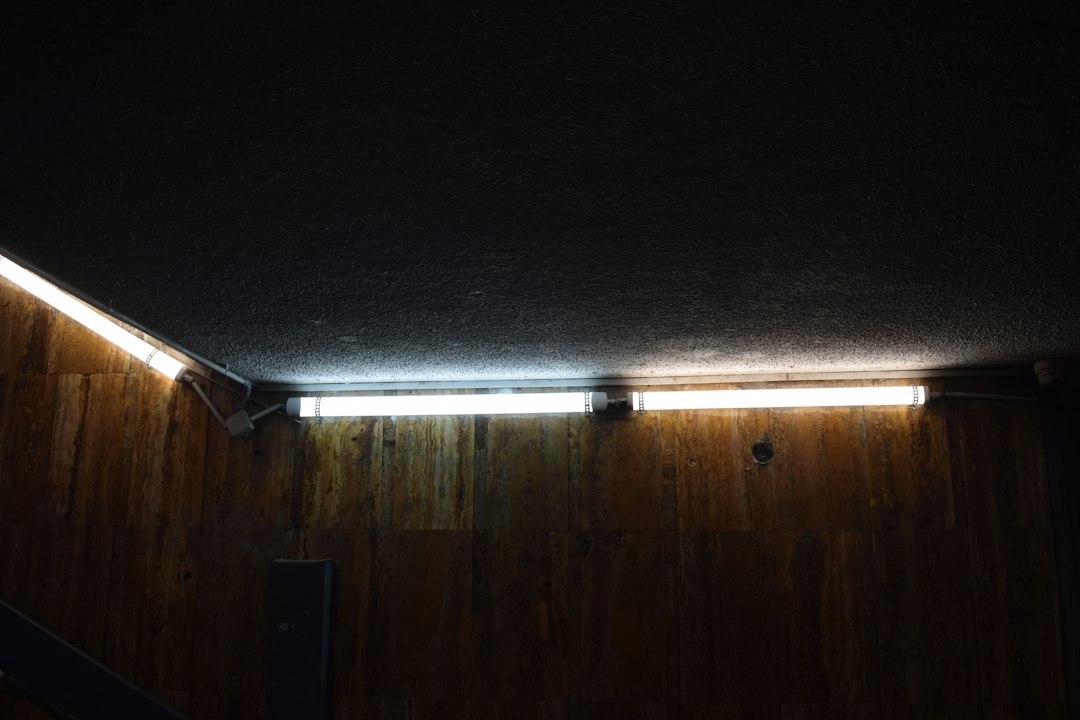
Wall washer lights, while fantastic for highlighting architectural features and creating dramatic effects, aren’t immune to problems. The good news is that many common issues are fairly straightforward to diagnose and, in many cases, fix yourself without needing to call in a specialist immediately. We’re going to walk through some of the most frequent hiccups you might encounter with your wall washers and offer practical, step-by-step advice for getting them back in tip-top shape.
Understanding Wall Washer Light Fundamentals
Before diving into problems, a quick refresher on how wall washer lights generally work can be helpful. These fixtures are designed to cast a wide, even beam of light across a vertical surface, typically a wall. They usually feature a specific lens or reflector system to achieve this broad, uniform spread. Many modern wall washers are LED-based, offering energy efficiency and a long lifespan, but older models might use halogen or other bulb types. The typical setup involves the fixture itself, a power source (which might include a driver or transformer for low-voltage LEDs), and wiring connecting everything.
Common Wall Washer Types
While the core function is the same, wall washers come in various forms, each with potential quirks.
LED Strip Wall Washers
These often come in linear sections and are popular for their slim profile and ability to be cut to size. Issues here can often trace back to the power supply or the individual LED chips.
Recessed Wall Washers
Built into ceilings or walls, these offer a clean, integrated look. Accessing components for repair can sometimes be more challenging due to their recessed nature.
Surface-Mounted Wall Washers
These are fixed directly onto a surface and are generally easier to access for maintenance and repair. Their exposed nature, however, might make them more susceptible to external damage.
Outdoor vs. Indoor Wall Washers
Outdoor wall washers are built to withstand elements like rain, dust, and temperature fluctuations, usually featuring higher IP ratings. Their sealing and material choices are critical, and failures here can sometimes be linked to water ingress or corrosion. Indoor units face fewer environmental challenges.
Diagnostic Steps for Common Wall Washer Problems
When a wall washer light isn’t behaving as it should, a systematic approach to troubleshooting can save you time and frustration. Always start with the simplest checks and move to more complex ones.
The Light Isn’t Turning On
This is perhaps the most common and frustrating issue. Several factors could be at play, ranging from the very basic to something a bit more involved.
Check the Power Source
Before anything else, confirm the light is receiving power. Is the wall switch in the “on” position? If it’s controlled by a dimmer, is the dimmer set appropriately (not too low)? Check your circuit breaker or fuse box. Has a breaker tripped? If so, reset it. If it trips again immediately, you likely have a short circuit somewhere, and further investigation is needed before resetting it again.
Verify Wiring Connections
Loose connections are a frequent culprit. If accessible, gently check the wiring at the fixture itself and at the power supply or driver. Ensure all wires are securely seated in their terminals. For outdoor units, corrosion at connection points can interrupt the circuit; look for any green or white powdery build-up. Always turn off power at the breaker before inspecting wiring.
Inspect the Bulb or LED Module
If it’s a fixture with a replaceable bulb, try replacing it with a known working bulb. Even if the filament doesn’t look obviously broken, it could still be the issue. For integrated LED fixtures, this step isn’t usually possible, but you can visually inspect the LED array for any burnt-out chips (they might appear discolored or have a small black spot). If many or all LEDs are out, the issue is more likely with the driver or power supply.
Test the Driver or Transformer
Many LED wall washers operate on low voltage and require a driver or transformer to convert mains voltage. If you have a multimeter, you can test the output voltage of the driver. Refer to the driver’s specifications for the expected voltage. If there’s no output, or the output is significantly off, the driver is likely faulty and needs replacement. Exercise caution when working with electrical components; if unsure, consult a professional.
Uneven or Flickering Light Output
This problem can be particularly distracting and indicates an intermittent power issue or a component nearing its end of life.
Examine for Loose Connections
Similar to the light not turning on, loose wiring can cause flickering. The connection might be making intermittent contact, leading to the light cutting in and out. Re-check all wiring connections at the fixture, driver, and switch.
Test the Dimmer Switch
If the wall washer is connected to a dimmer, ensure the dimmer is compatible with the light fixture. Many LED fixtures require specific LED-compatible dimmers. Using an incompatible dimmer can lead to flickering, buzzing, or even premature failure of the LEDs or driver. Try bypassing the dimmer temporarily (if safe to do so and you have electrical experience) or replacing it with a standard switch to see if the flickering stops.
Inspect for Voltage Fluctuations
Sometimes, flickering isn’t the fault of the light itself but rather an issue with the electrical supply in your home. If other lights in the same circuit are also flickering, it could indicate a broader electrical problem, and an electrician should be consulted.
Driver or Power Supply Issues
A failing LED driver can supply inconsistent power, leading to flickering or uneven illumination. If other troubleshooting steps haven’t resolved the issue, and you’ve confirmed stable input power to the driver, then the driver itself might be faulty.
Individual LED Chip Failure
While less common to cause overall flickering, a few individual LED chips beginning to fail can sometimes manifest as uneven light or a slight flicker in a specific section. This typically requires replacing the entire LED module or fixture.
Buzzing or Humming Noises
A wall washer light shouldn’t generally produce noticeable noise. If it does, it’s usually a sign of an electrical issue.
Incompatible Dimmer
This is the number one cause of buzzing or humming from LED fixtures. As mentioned, not all dimmers are created equal, and using a standard incandescent dimmer with an LED light can cause audible noise as well as flickering. Upgrade to an LED-compatible dimmer.
Loose Components or Wiring
Sometimes, the buzzing isn’t electrical but mechanical. A loose component inside the fixture or driver enclosure vibrating can create noise. Power down the unit and, if safe and accessible, gently check for anything loose. However, most buzzing is indeed electrical.
Faulty Driver or Transformer
A malfunctioning driver or transformer can sometimes emit a hum or buzz, especially if it’s struggling to regulate power. If you’ve ruled out the dimmer, the driver is the next likely suspect.
Electrical Interference
Less common, but sometimes electromagnetic interference from other nearby electrical devices can cause a slight hum. Try turning off other appliances one by one to see if the noise stops.
Addressing Environmental and Wear-and-Tear Issues
Wall washers, especially outdoor models, are constantly exposed to environmental factors that can lead to problems over time.
Water Ingress (Outdoor Units)
Water getting inside an outdoor fixture is a serious problem that can lead to short circuits, corrosion, and complete failure.
Inspect Seals and Gaskets
The protective seals and gaskets are crucial for keeping water out. Over time, these can degrade, crack, or become dislodged. Visually inspect all seals around the lens cover and cable entry points. If you find any damage, replace the seals.
Check for Proper Drainage
Some outdoor fixtures are designed with small weep holes for condensation or minor water ingress to drain out. Ensure these aren’t blocked by dirt or debris.
Secure Cable Entries
Ensure all cable entries are properly sealed with weatherproof glands. If a cable was pulled or improperly installed, it could compromise the seal. Applying outdoor-rated silicone sealant around cable entry points can provide an extra layer of protection, but ensure it doesn’t impede access for future maintenance.
Address Corrosion
If water has entered, you’ll likely see signs of corrosion on electrical contacts, screws, or internal components. Light corrosion on terminals might be cleaned with electrical contact cleaner and a fine brush (with power off!), but significant corrosion often means component replacement.
Overheating and Thermal Shutdown
LEDs generate heat, and if this heat isn’t properly dissipated, it can shorten the lifespan of the fixture or cause it to temporarily shut down.
Check for Blocked Vents
Many fixtures have heatsinks or vents to dissipate heat. Ensure these aren’t blocked by dust, debris, or insulation. For recessed fixtures, ensure there’s adequate air circulation around the housing.
Verify Proper Installation
Installing a fixture in a location not designed for its thermal output (e.g., an indoor-rated fixture used outdoors in direct sunlight) can lead to overheating. Ensure the fixture’s specifications match its environment.
Driver Overheating
The LED driver itself can overheat. If it’s enclosed in a small, unventilated space, heat can build up. Ensure the driver is mounted in an area with good air circulation.
LED Junction Temperature
If individual LEDs are failing prematurely or the fixture is dimming over time, it could be a sign that the LEDs themselves are running at too high a junction temperature, usually due to poor thermal management within the fixture or excessive ambient temperature. This often requires professional intervention or fixture replacement.
Discoloration or Fading Light Output
Over time, you might notice the light from your wall washer becoming dimmer or changing color.
Dust and Dirt Buildup
A simple but often overlooked issue. A layer of dust, dirt, or even insects on the lens or reflector can significantly reduce light output and alter its color. Power off the fixture and gently clean the lens and reflector with a soft, lint-free cloth and, if needed, a mild, non-abrasive cleaner.
LED Degradation
All LEDs degrade over time, meaning their light output gradually diminishes. This is a normal part of their lifespan. While they last a very long time, extreme heat or operating them constantly at maximum brightness can accelerate this process. If only one or a few LEDs are noticeably dimmer, it might be due to individual chip failure.
Driver Age
An aging driver might not be supplying the LEDs with optimal power, leading to reduced brightness. If cleaning doesn’t help and there are no signs of individual LED failure, the driver could be the culprit.
Proactive Maintenance and Best Practices
Preventing issues before they start is always better than fixing them. A little routine maintenance can significantly extend the life and performance of your wall washer lights.
Regular Cleaning
Make it a habit to clean the lenses and any accessible reflective surfaces of your wall washers. For outdoor units, this might mean wiping them down monthly or quarterly, depending on your environment. For indoor units, dusting a couple of times a year is usually sufficient. Use a soft cloth and a gentle cleaner; avoid abrasive materials that could scratch the lens.
Inspecting Wiring and Connections
Periodically check exposed wiring and connections for any signs of wear, fraying, or corrosion, especially for outdoor installations. Ensure all wire nuts or terminal connections are tight. If you see any damaged insulation, it should be repaired immediately with electrical tape or heat shrink tubing, or the wire replaced entirely.
Checking Seals and Gaskets
For outdoor wall washers, regularly inspect the integrity of all seals and gaskets. Look for cracks, hardening, or signs of water ingress. Replacing worn seals proactively can save you from costly water damage down the line. A light application of silicone grease on rubber gaskets can help maintain their flexibility and sealing properties.
Ensuring Proper Ventilation
Make sure that any ventilation holes or heatsinks are clear of obstructions like dust, insulation, or spiderwebs. Good airflow is critical for LED longevity. For recessed fixtures, confirm there’s adequate airspace around the housing to prevent heat buildup.
Compatibility Checks for Replacements
If you do need to replace a component like a driver or a dimmer, always ensure the new part is fully compatible with your existing fixture. Check voltage, wattage, and dimming protocols. Using incompatible parts can lead to immediate failure or premature degradation of your wall washer.
Professional Inspections
For complex installations or if you’re uncomfortable performing electrical work, consider a periodic inspection by a qualified electrician. They can identify potential issues before they become major problems, especially with outdoor or high-voltage systems.
By understanding the common issues and following these practical troubleshooting and maintenance tips, you can keep your wall washer lights performing beautifully, enhancing your spaces for years to come. Remember, safety first: always disconnect power before attempting any repairs or inspections.